D'idées créatives
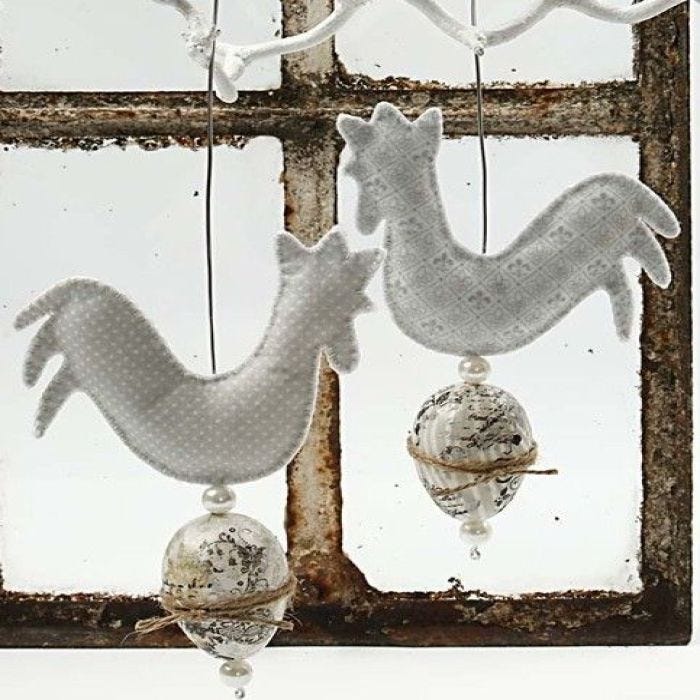
Felted Chickens for Hanging
#v12230
Cut out the parts from felt and sew together in pairs. Decorate the plastic egg with Vivi Gade decoupage paper which has been printed using silicone stamps.
#v12230
Comment faire
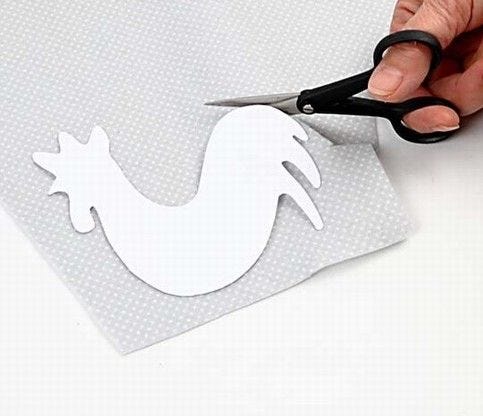
1. Cut a design from felt using the template.
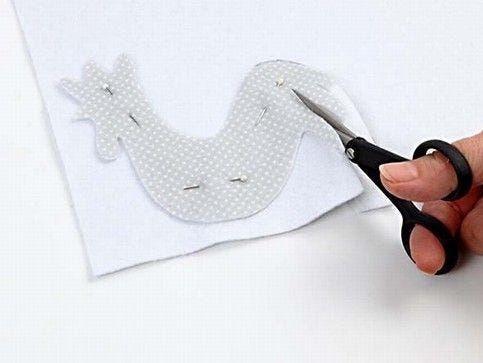
2. Cut out the next design (mirror imaged) using the first as a template; it is easier like this.
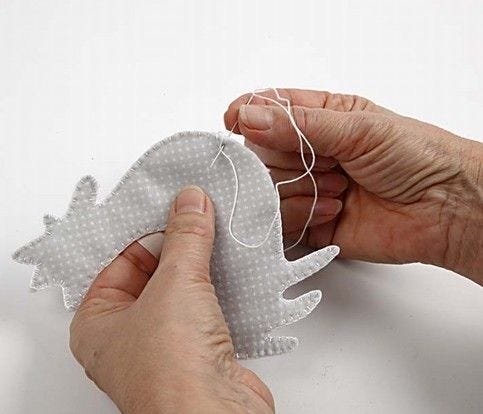
3. Sew the two parts together with buttonhole stitches. Leave an opening at the bottom.
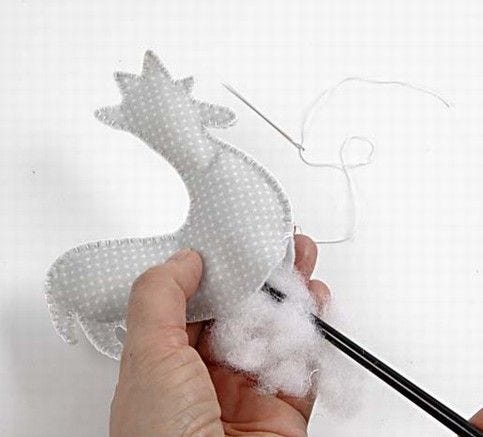
4. Fill it with polyester stuffing. Sew together.

5. Cut a piece of bonsai wire and bend to form a hook which is then pushed through the felt chicken.
.jpg)
6. Dab some paint onto the silicone stamp.
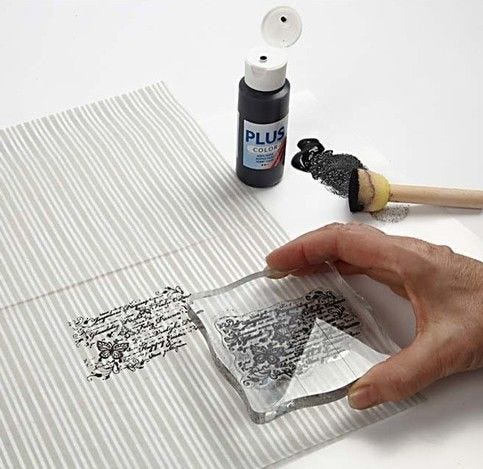
7. Print on the decoupage paper. Use the large designs.
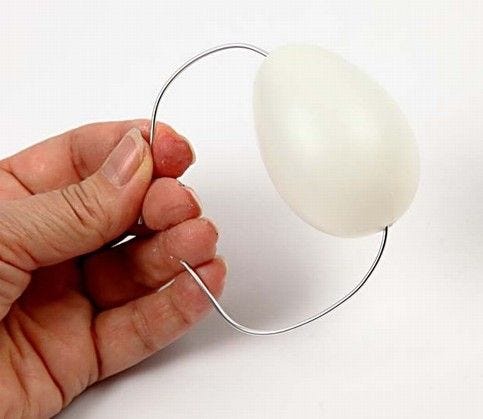
8. Push a hole through the egg and push a piece of wire through (to hold onto).
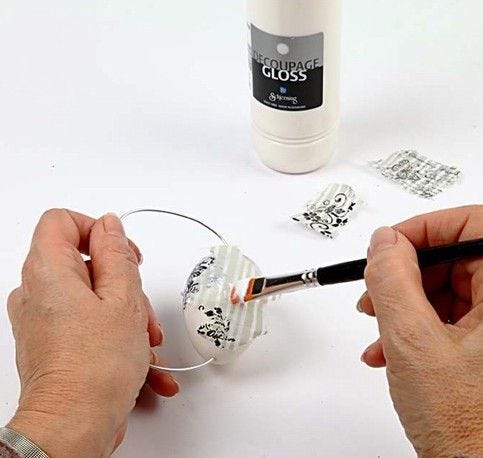
9. Glue small torn pieces of paper onto the egg.

10. Use the small stamps for printing Art Metal gold paint onto the eggs.
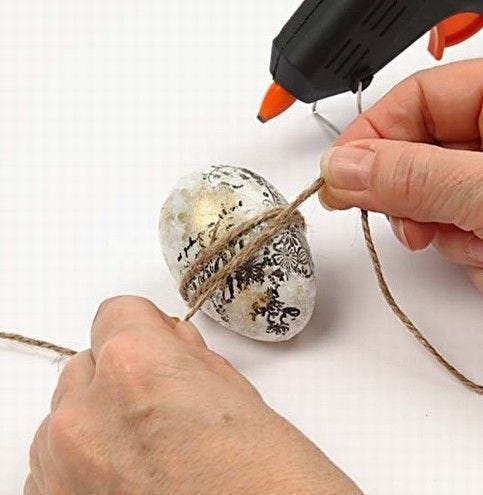
11. Tie a piece of flax twine around the egg.
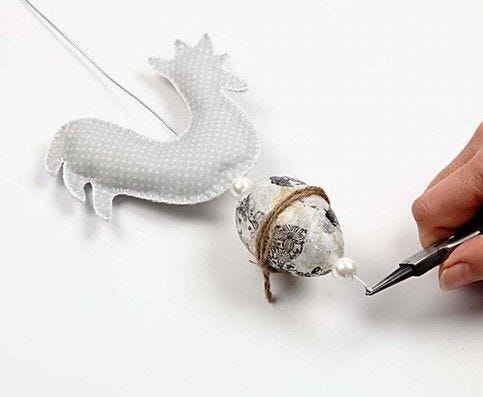
12. Thread a bead, the egg and another bead onto the wire and finish by twisting to form a loop.

Allez aussi explorer dans
Vous aimerez aussi
{{ getVariationsCountLabel() }}
{{ getName() }}
{{ getDescription() }}
#{{ getSku() }}
Faites une idée à partir de {{ getPriceFormatted() }}