5576b5f5a2529.jpg)
D'idées créatives
Helsinki pocket card
#v11257
Made from a single piece of folded paper. Decorated with brads and a punched border. Pocket tags made of cardboard and decorated with paper and ribbons.
#v11257
Comment faire

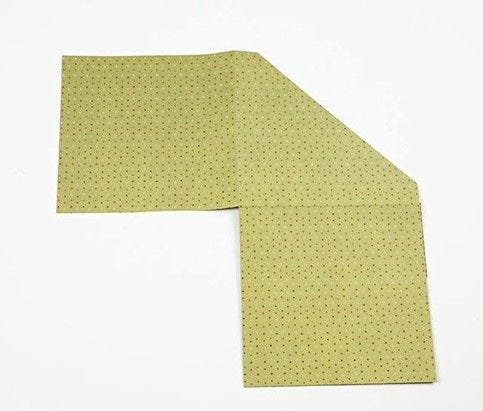
1 Cut a piece of Vivi Gade Design paper from the series Helsinki size 28x28cm. Fold in half from the bottom up and open the paper again.
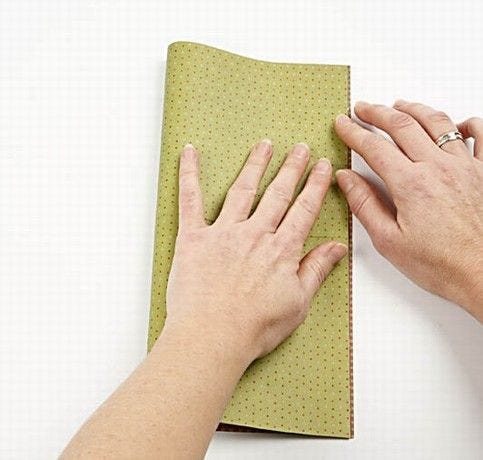
2 Fold in half from the left to the right. Open the paper again.
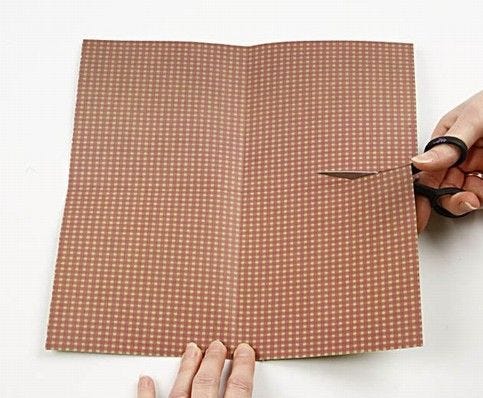
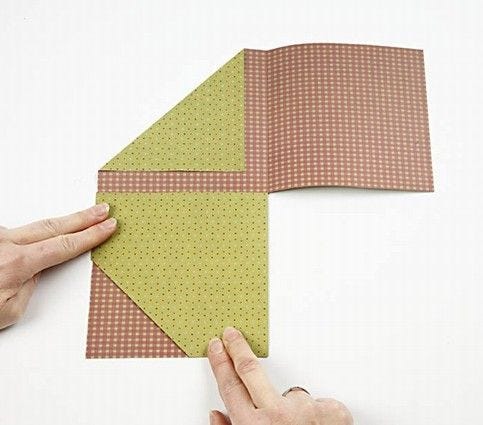
3 Klip i folden ind til midten som vist på foto.

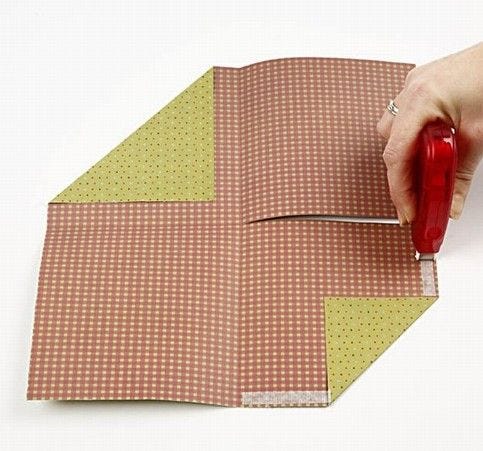
4 Make a fold in the lower right corner. The length is 8cm.
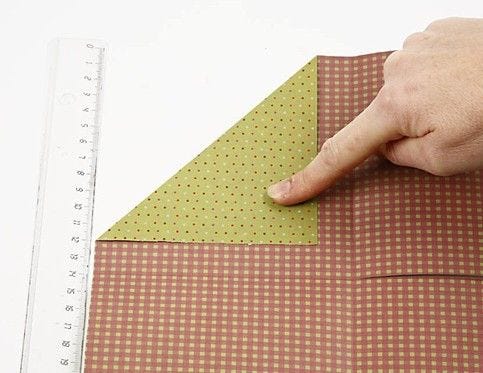
5 Make a fold in the upper left corner. The length is 12x12cm.

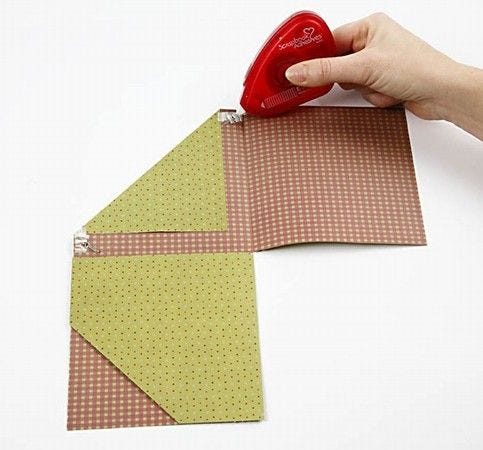
6 In the lower right corner attach double-sided adhesive pre-cut strips as shown.
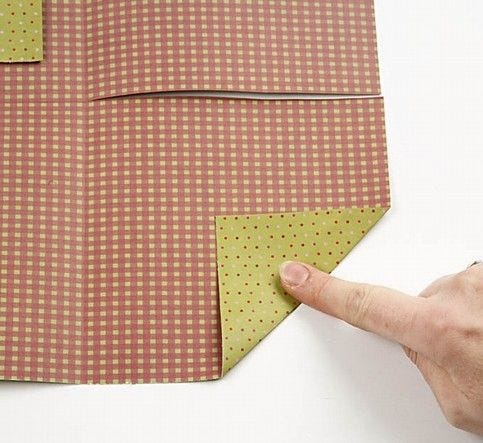
7 Close.
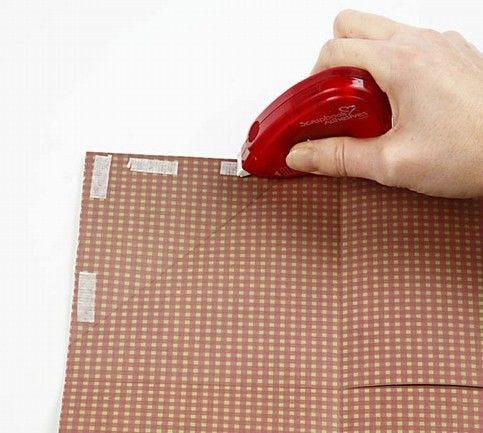
8 Also, attach double-sided adhesive pre-cut strips on the top left corner as shown in the photo.
9 Close.
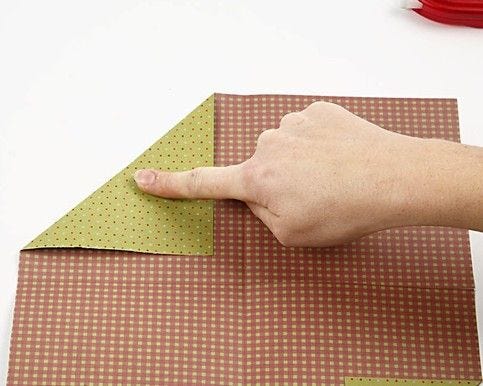
10 Put on double-sided adhesive pre-cut strips as shown on the photo.
11 Fold over towards the left and press down the side firmly.
.jpg)
12 Punch a border, 16cm in length, from green design card and insert a satin ribbon.
.jpg)
13 Secure the ribbon onto the border with E-Z runner tape. A small strip is enough to keep it in place.
.jpg)
14 Put tape onto the back of the border in the same manner as shown in the photo.
15 Place the paper so that it is turned as shown in photo.
.jpg)
16 Attach the border onto the edge and decorate with brads. Make a small hole with an art knife, attach the brad and and push the legs out to each side on the back.
17 Turn the paper and attach the tape as shown in the photo.
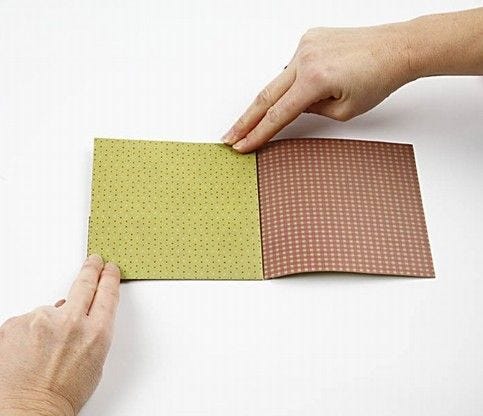
18 Fold up the bottom left flap. (This is now the back of the front).
.jpg)
19 Close.

20 Cut a piece of green design card measuring 13x13cm and punch a border along one side. Attach white design card behind it so that a small edge peeps through. Then glue this onto the innerside of the card in order to stiffen the side and in order have a clean area to write on.

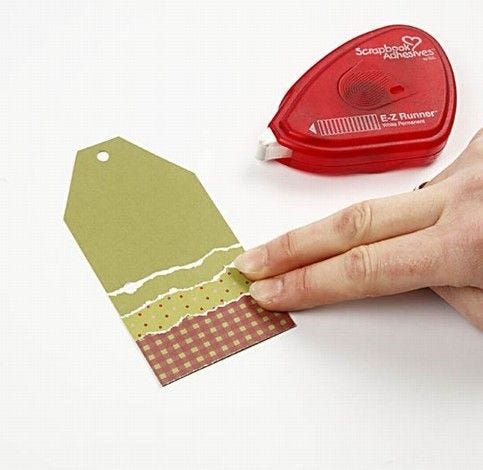
21 Make two tags for the pockets. These measure 6x17cm. Cut off the corners and make hole for a ribbon and fold 6cm from the bottom edge.

22 Tear off the top edge, so you can see the white core of the paper. Tear 2 strips of paper and glue them on underneath. Cut off excess paper along the edge.
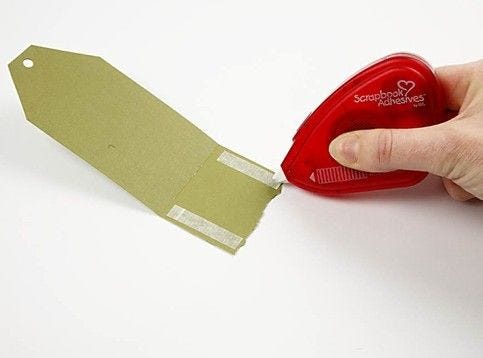
23 Glue along the two sides as shown in the photo.
24 Close. Attach a ribbon in the top, insert a note into the pocket if you wish and your tag is now ready to be inserted into the pocket on the front of the card.
Allez aussi explorer dans
Vous aimerez aussi
{{ getVariationsCountLabel() }}
{{ getName() }}
{{ getDescription() }}
#{{ getSku() }}
Faites une idée à partir de {{ getPriceFormatted() }}